How to Build A Blog App with React and Tailwind CSS

I am a developer from Nairobi, Kenya with a particular interest in Software Development
React is one of the most popular JavaScript libraries with 11,090,557 websites using it. It is popular because it is simple and easy to build beautiful and functional frontend applications. In the spirit of building projects as you learn we shall embark on building a blog application with React and Tailwind CSS.
Setting up our application
We shall begin by creating the React app. Open your terminal and write the following commands.
npx create-react-app techie-blog
cd techie-blog
Feel free to name your project whatever you please, for this project it shall be called techie-blog.
Next, we shall install Tailwind CSS
npm install -D tailwindcss postcss autoprefixer
npx tailwindcss init -p
Open up the app you have created and in the tailwind.config.js add the path to all your template files like so.
 content: [
    "./src/**/*.{js,jsx,ts,tsx}",
  ],
In the index.css file add tailwind directives. These directives are custom rules that we can use to give functionality to our CSS.
@tailwind base;
@tailwind components;
@tailwind utilities;
Incase you encounter a warning that says 'Unknown at rule @tailwindcss(unknownatrules)'. Download an extension called PostCSS Language Support, this extension provides support for modern CSS such as Tailwind.
We shall then build our application by running the following command in our terminal.
npm run start
From there we can now use Tailwind CSS to style our blog application.
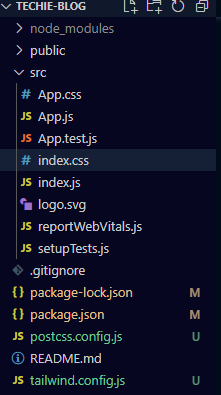
Modifying the folder structure
At this point, this is what our folder structure looks like. We shall modify it and group the components together so we can make our app more modular and also make debugging easier.
The new folder structure looks like this now.
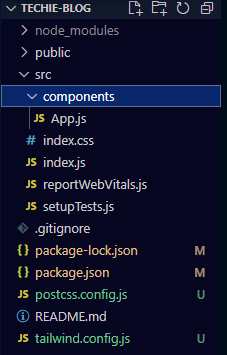
Next, ensure you take out all the old code in the starter application, and in the index.js change the import of the App component to the current folder where it is located.
import App from './components/App';
The next step is pushing our app to GitHub. It is always a good practice to update the README with a brief description of the app you are building and also put topics in the about section of your repository to guide anyone who looks at your repository on the content there.
That is all for now. You can follow along and share your insights on anything mentioned in the comments below and we can learn together.
See you in the next part of this series.